Now, if you will recall I talked about one of the new features for creating surfaces in AutoCAD Civil 3D 2009. That new feature is a Data Clip Boundary. When creating a surface from a large data set we create the Data Clip Boundary as the first operation. Then as we add data to our surface, i.e. points, point groups, breaklines, etc., the software will check the data to see if it falls inside the limits of the Data Clip Boundary. If the data is outside the boundary it is ignored.
Once we have our existing ground surface created, it is time to do some fun stuff! The next thing was to import the layout for the site as shown below.

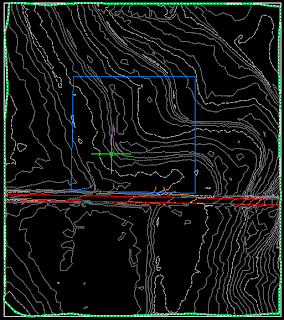
Next, we created an alignment from the polyline that runs north and south through the parking lot. In creating the alignment we did not place the alignment on a site and we gave it a name of baseline. This makes it easier when creating the preliminary surface. Then we created an EG profile and profile view of the alignment. Next we create our design profile. This profile can be created with tangents only, or you could include vertical curve data.
Join me next time for Part 2 of the Grading Short Course notes.
No comments:
Post a Comment